Skip to content
Shop
Shop
8BitCADE Original
8BitCADE XL
Toolkit
Accessories
Shop All
Tutorials
Blog
Forum
Contact
Log in
Twitter
Facebook
Pinterest
Instagram
YouTube
Shop
8BitCADE Original
8BitCADE XL
Toolkit
Accessories
Shop All
Tutorials
Blog
Forum
Contact
Cart
Log in
Item added to your cart
View cart
Check out
Continue shopping
TUTORIALS
Discover all of our resources, from make videos to coding tutorials - you’ll find it all here!
8BitCADE Original
See All Original Tutorials >
Make Guide
8BitCADE Original
Visual Parts Guide
Learn about the components!
Learn
Set up your 8BitCADE Console!
Game
Learn how to install and create games!
Extra Resources
Need something more? We have you covered!
8BitCADE XL
See All XL Tutorials >
Make Guide
8BitCADE XL
Visual Parts Guide
Learn about the components!
Learn
Set up your 8BitCADE Console!
Game
Learn how to install and create games!
Extra Resources
Need something more? We have you covered!
Extra Resources
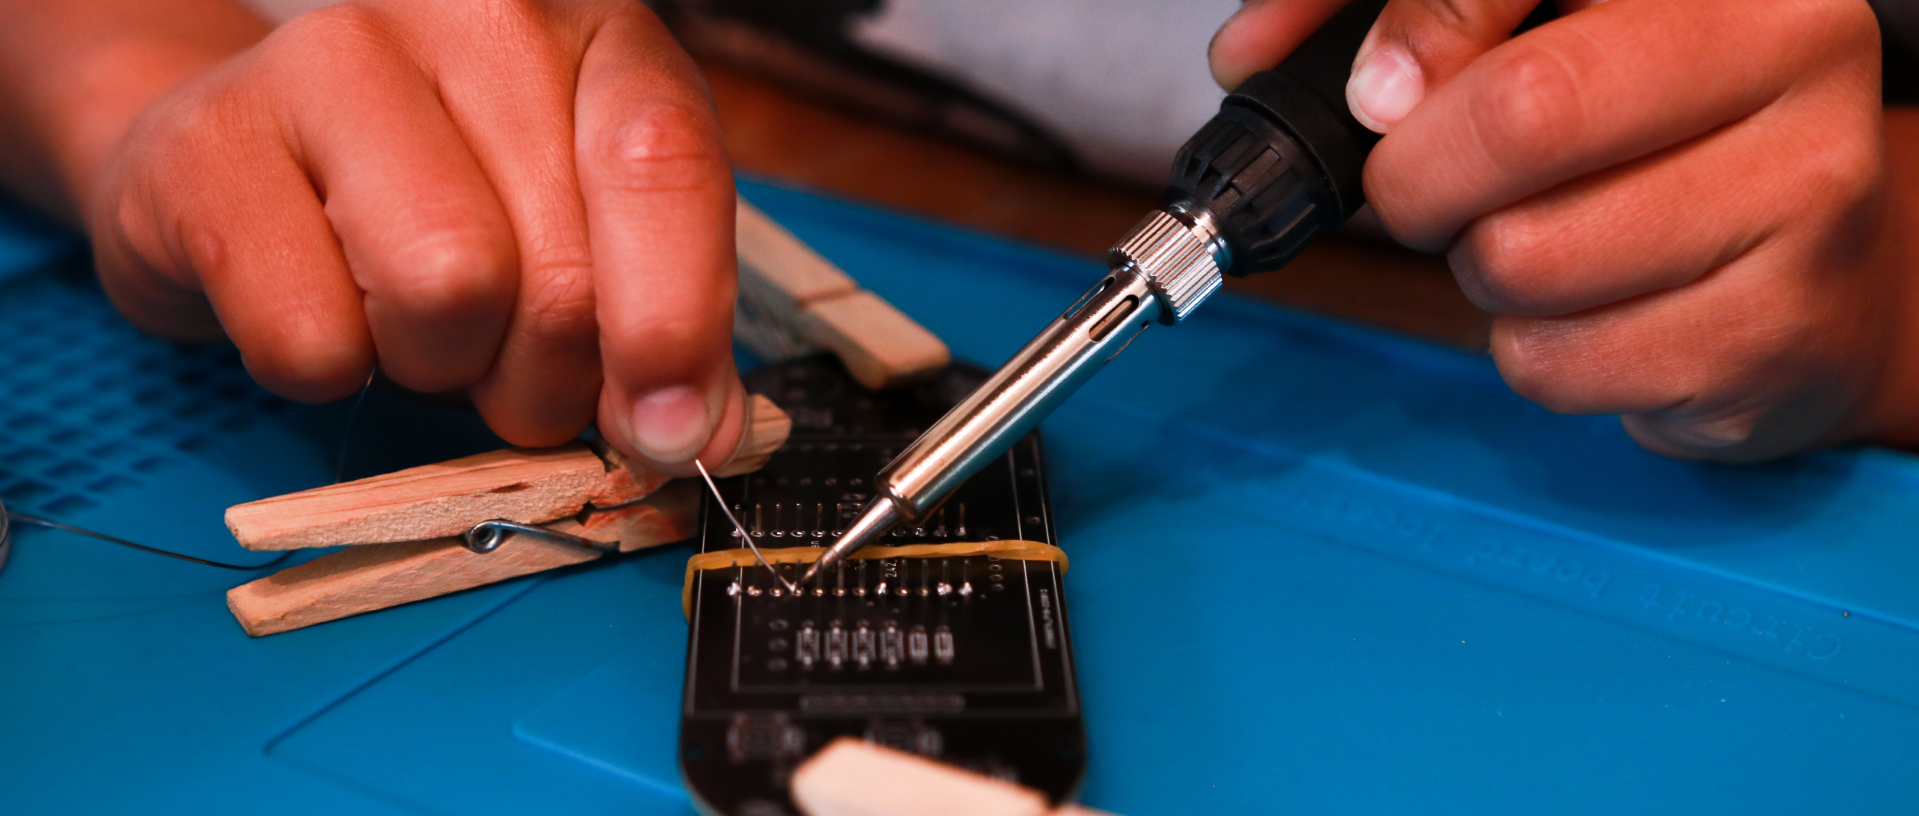
Soldering Guide
Soldering Basics
Troubleshoot
Fix Console Issues
Choosing a selection results in a full page refresh.
Opens in a new window.


 Extra Resources