Troubleshoot
8BitCADE
Common Issues and Solutions
What Should You Do if Issues Come Up
A Lot of things can go wrong with a DIY product. This section will guide you through common issues you might have. If your problem doesn’t seem to be covered/you tried the fix but it did not work, then do the following:
First, check your overall assembly to ensure that there are no short circuits, bridging soldering joints or damages from assembly.
Send us a direct email at support@8bitcade.com with your order number, issue and photos to help us understand what your problem is.
Sit tight and wait for us to respond ASAP! We are a small business, so we might take a bit of time, but we are here for you!
Thank you kindly for your support and patience, we hope nothing goes wrong but if it does we, and the community, are here to help you out!
Standard Issues
Below are some common fixes we found – we are constantly updating this and verifying community found problems.
Loader not showing / USB symbol

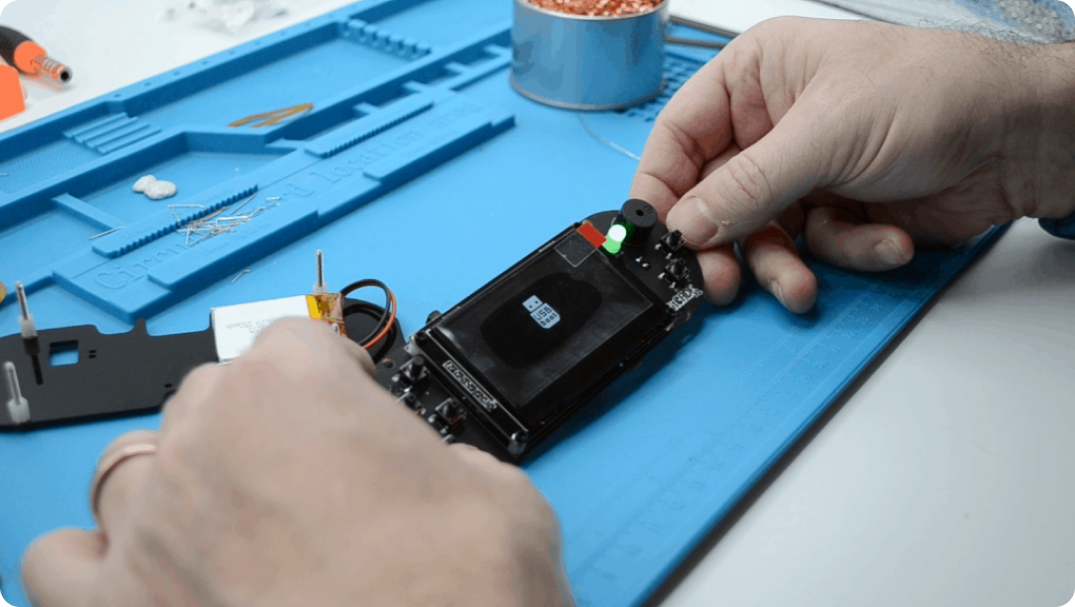
If you turn on your 8BitCADE XL and get a “USB” symbol pop up, that means you do not have your game image flashed onto your memory chip. The fix for this takes less than two minutes! Check out the video below!
Some users are reporting issues regarding the use of the Portable Activator
Try this out first:In most cases, manually uploading 2 or 3 games should ‘flush out’ and allow you to upload the game image.
Console Not Found
It sounds like you are having difficulty getting your computer to communicate with the 8BitCADE. This could be due to not having the Arduino Drivers installed on your computer. If the drivers are installed, this will allow you to automatically sense an Arduino Based Board once its plugged into your PC.Follow the steps below:
- Make sure battery is fully charged.
- Make sure usb symbol is on the screen when turned on. This proves bootloader is on the promicro.
- Make sure pc is communicating with Arduino based products by having Arduino IDE installed. It has the drivers to enable communication and create virtual com port on your PC.
The link to install Arduino: https://www.arduino.cc/en/software/
Video that shows how to install Arduino: https://www.youtube.com/watch?v=hFNmWMufm2I&feature=emb_logo - Use portable activator to load a single hex game and game image to test unit.
No Flash Cart Detected
We advise to manually upload 2 to 3 games to ‘flush out’ and then try to reflash the game image. If this does not work, try the following:
In most cases “no flash cart detected” is due to a faulty connection somewhere on the board, however, we also want to ensure you have
Follow the steps below:
- Make sure the battery is fully charged.
- Upload a single game using the portable activator. This will test the Pro Micro. If this works AND the game image still doesn’t upload, you may have a dodgy solder joint near the memory chip or a scratch on the PCB. For this we advised the following:
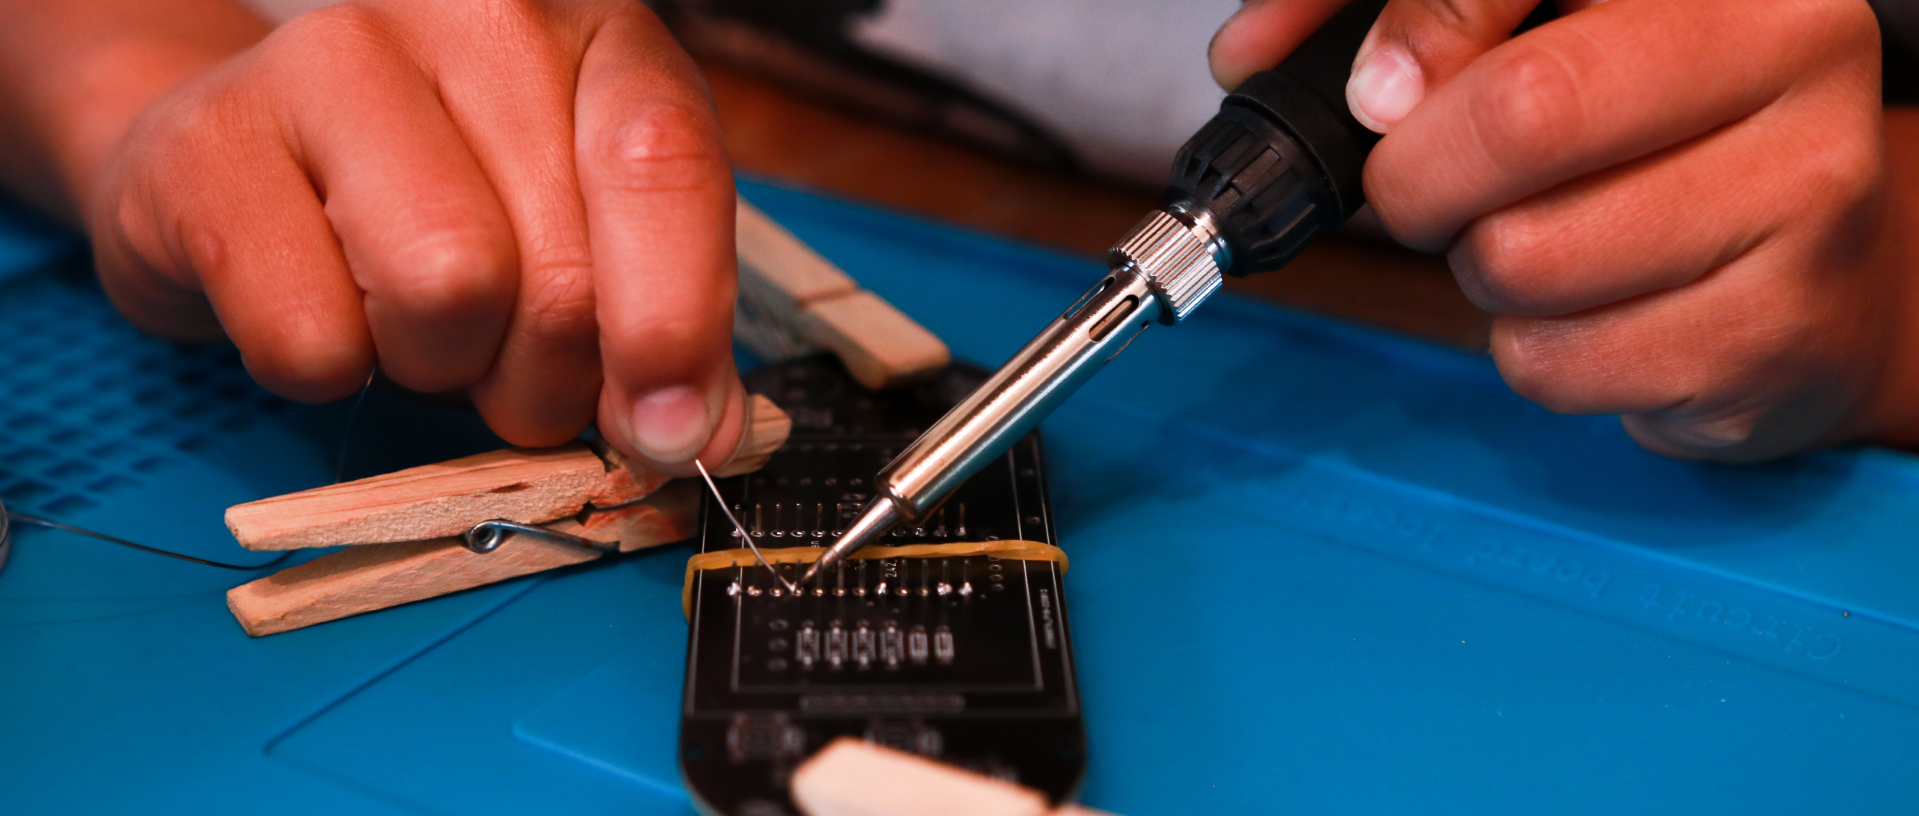
- Make sure to check your solder joints, especially around the Pro Micro and memory chip. There could be a cold solder joint, where you will need to reheat the solder joint. If you can identify bridging, you will need to split the bridge between two pins.
- Make sure to check that the orientation of the components such as the diodes are in the correct orientation.
- If this does not work you can also try and upload a single game via the Arduino IDE:
Link to install Arduino:
https://www.arduino.cc/en/software/
Video to install Arduino:
https://www.youtube.com/watch?v=hFNmWMufm2I&feature=emb_logo
Guide to show you how to upload a single game via the Arduino IDE:
https://www.youtube.com/watch?v=wa2LaDqedF4
Sensitive Menu System
This covers anything from consistent resetting to displaying a half screen etc
- Make sure your 8BitCADE XL is fully charged. When the battery is low, the console can start doing some weird things. The reason the batteries are low is due to shipping requirements. We must send out the batteries at about 15-20% capacity to pass shipping requirements.
- If your 8BitCADE XL is fully charged and still acting up. Reflash the memory chip. Click on the below button to find out how:
- Check your solder joints! If you see any ‘cold’ joints (or any other dodgy joint), reheat it and reflow the solder. It might be that it ‘looks’ soldered but there may be a pocket of flux or air between the solder and the pin! This would result in a dodge or incomplete connection.


